


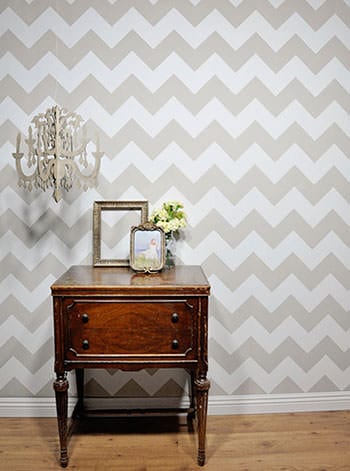
 The chevron, or herringbone wall design is perfect for that small or blank wall you just don’t know what to do with. It adds interest to a space and is an easy project you can complete in a weekend.
Level: Beginner
Estimated Time: 5 hours
Estimated Cost: $25-$75
MATERIALS
- interior paint
- foam roller
- paint tray
- painter’s tape
- drop cloth
- ladder
- pencil
- ruler
- level
INSTRUCTIONS
- Decide how you want your chevron pattern to look, and figure out the length and width you want your stripes to be. Find the center of your wall and begin measuring from the ceiling. From your starting point A, measure the width of the stripe straight down using a ruler and mark that point B. If you want your stripes to be 10” tall, start from the ceiling and mark 10” down. Then use a level to make sure the marks are even.
- From starting point A, measure the length of your stripe at a downward angle to the left and mark that point C. Then measure the width of your stripe below C and mark that as D. Points B and D should be the same length apart as points A and C. Repeat this on the right side measuring again from point A. Use a level to make sure the marks are even. Repeat this process until the entire wall is measured off.
- Tape off your stripes using painters tape. Be sure the tape is pressed down firmly so your paint won’t run underneath.
- Using any color of interior paint you’d like, roll the paint in every other stripe working from the ceiling down. Apply one or two coats of paint depending on the look you want.
- When the paint is dry to the touch, peel back the tape and admire your work!
TIP: Try using different types of paint (think eggshell vs. gloss) for the alternating stripes. This will make the stripes pop even more!