How To’s

How To Shiplap An Accent Wall

Add rustic, farmhouse character to any room in your home with a shiplap accent wall. This easy-to-follow video will walk you through each step of the process. In no time, you’ll have a beautiful, new design element to update your space!

Foxworth-Galbraith Home Improvement Center is your project source. Shop our selection of nail guns, finishing nails, air compressors, levels, MDF, paint supplies and more!*

Source: Perspective Design Company, YouTube

*Product availability varies by location

2020-05-13T16:28:17-05:00May 11th, 2020|How To's|

How To Build a Raised Garden Bed

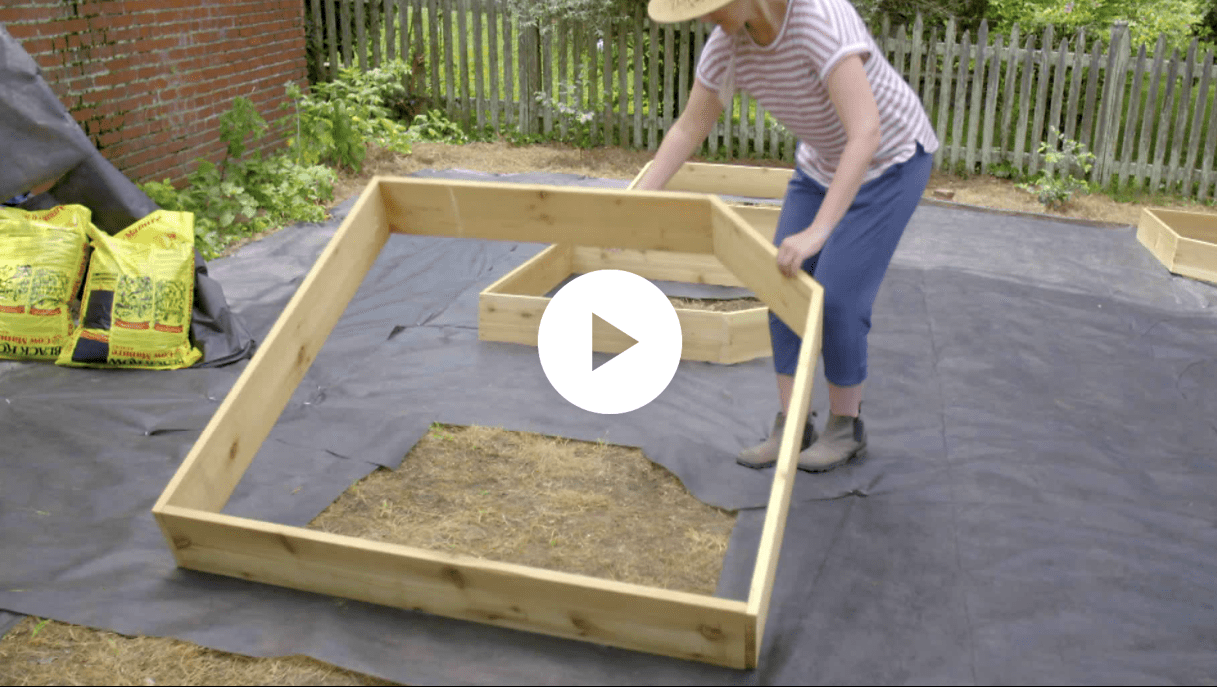
Spring is here, and now is the perfect time to build a raised bed for planting flowers, plants, or even a vegetable garden (a great activity to share with your children, and an economical way to help feed your family).

Raised garden beds can be customized to fit your needs – constructed from a variety of materials, such as: treated lumber, cedar posts, landscape timbers, retaining wall block and more.

Check out this week’s article for ideas and step-by-step instructions, and shop Foxworth-Galbraith Home Improvement Center for all of your project needs.

how to build a raised garden bed

Source: HGTV

Share This Home Project!

2020-04-09T09:58:37-05:00April 8th, 2020|How To's|

How To Fill Your Raised Garden Bed

Raised bed gardening is increasing in popularity, for multiple reasons. When fully planted, not only are they beautiful, but they allow you to create a low-maintenance garden almost anywhere. Raised planter beds provide great drainage and well-aerated soil – as well as protection from weeds and pests. Now that you’ve built your raised garden bed, it’s time to fill it.

Check out this week’s article to set your green thumb up for success, and be sure to shop Foxworth-Galbraith Home Improvement Center for your lawn and gardening needs, such as bag goods, wheelbarrows, gardening tools, hoses and much more.

Read Article
how to fill your raised garden bed

Photo: Shain Rievley
Source: HGTV

Share This Home Project!

2020-04-09T10:14:30-05:00April 8th, 2020|How To's|

How To Clean and Seal Your Wood Deck

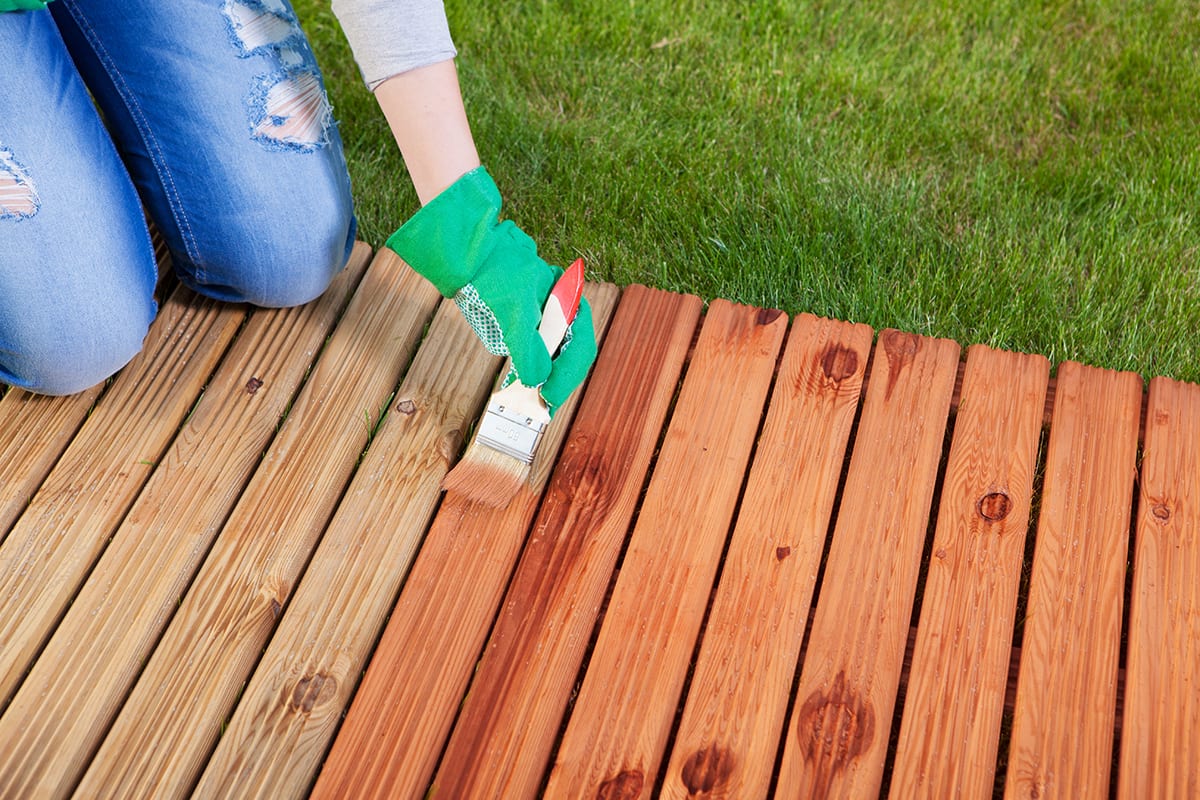
If your wood deck is looking a bit tired, now is the perfect time to bring back its natural beauty. In just a few easy steps, you can have a beautiful-looking deck to enjoy throughout the summer months.

Foxworth-Galbraith Home Improvement Center carries a great selection of supplies to help you tackle this project, from deck cleaners, stains and sealers to sandpaper, painter’s tape, paintbrushes, rollers and sprayers, and much more.

Follow these easy, step-by-step instructions, and you’ll be enjoying a beautifully-maintained wood deck in no time!

Read Article
How to Stain Your Deck

Source: HGTV

Share This Home Project!

2020-04-09T10:13:43-05:00April 8th, 2020|How To's|

How To Revive Your Wood Fence

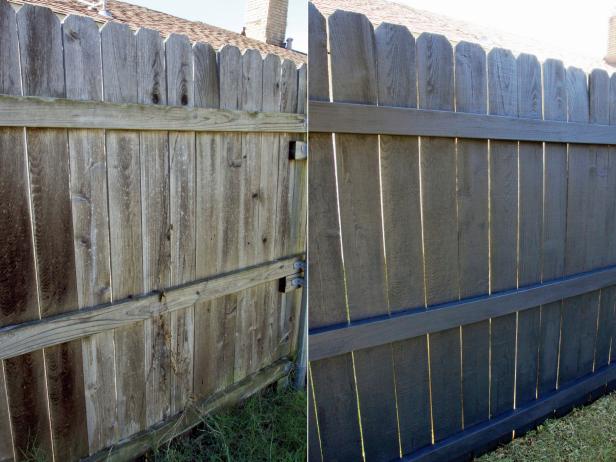
If your fence is in need of a little TLC, this week’s “How To” is for you. Not only does your wood fence provide security, privacy and curb appeal – it’s an investment. By maintaining your fence’s finish, you can help protect structural integrity and keep it looking great for years.

In addition to fence material, Foxworth-Galbraith Home Improvement Center is your source for fence maintenance essentials, such as wood cleaners, stains and sealers, sandpaper, drop cloths, painter’s tape, paintbrushes, rollers, sprayers, and much more.

Follow these simple, step-by-step “Fence Revival” instructions, and click on the “How to Paint a Fence” photo links at the end to help breathe new life into your fence:

Read Article
How to Revive Your Wood Fence

Source: HGTV

Share This Home Project!

2020-04-09T10:18:26-05:00April 8th, 2020|How To's|

Easy DIY Paver Edging

Not only is paver edging a great solution for giving your yard a professionally-landscaped look, tidying unruly flower beds, and making mowing around flower beds a breeze, it’s a simple project than can be tackled in an afternoon.

This article and video by HGTV will walk you through the process step by step. As always, Foxworth-Galbraith Home Improvement Center is your project source. Shop our selection of pavers and stepping stones, sand, shovels, trowels, levels, spray paint, garden hoses and more!

Easy DIY Paver Edging

Source: HGTV

Share This Home Project!

2020-04-09T10:20:05-05:00April 8th, 2020|How To's|

DIY No-Sew Face Mask

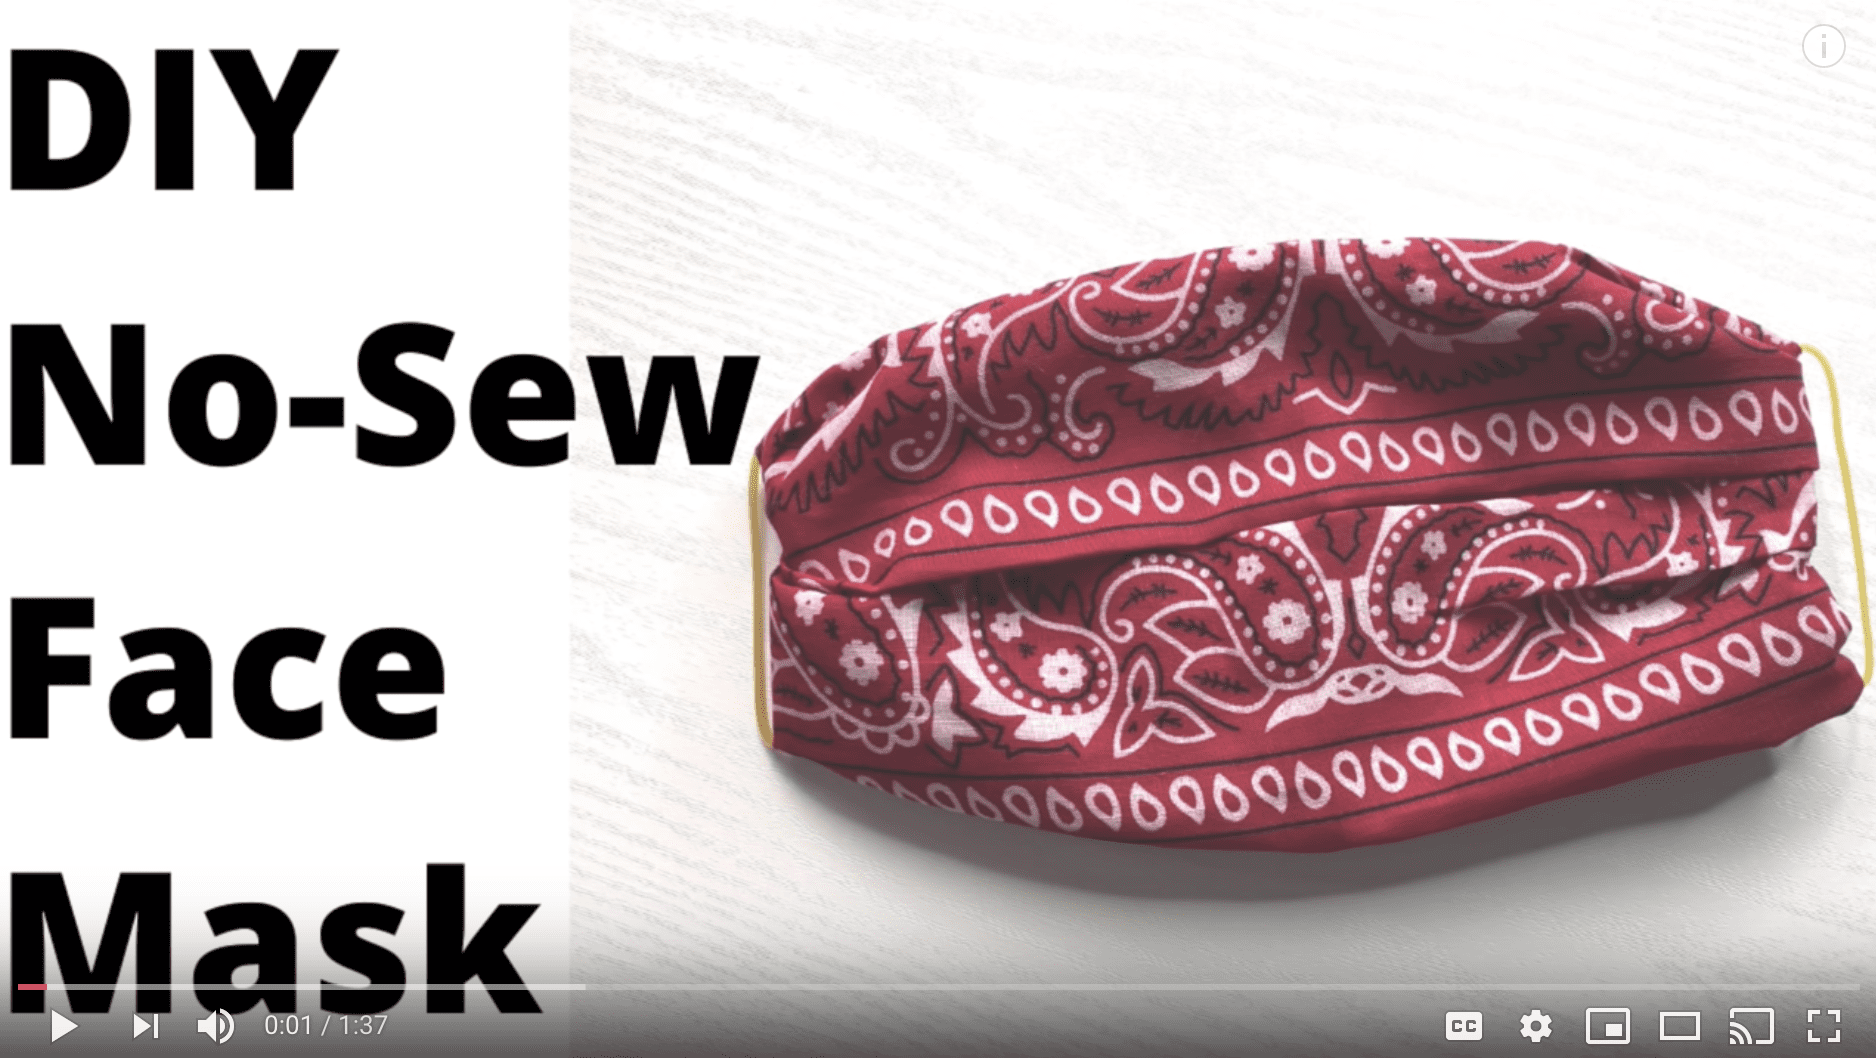
Using a bandana + 2 rubber bands or ponytail holders, you can make your own no-sew face mask. Follow this quick and easy DIY tutorial.

DIY No-Sew Face Mask

Share This Home Project!

2020-04-09T10:22:20-05:00April 8th, 2020|How To's|

How To Install a Light Fixture

Spruce-up any room with a new ceiling light fixture. Learn how to install a light fixture in this quick DIY tutorial that will add new life to a small or large room. The toughest part will be choosing your new light fixture!

How to Install a Light FixtureLevel: Beginner
Estimated Time: 15 min
Estimated Cost: $50 – $250

MATERIALS

  • new light fixture
  • Phillips head screwdriver
  • step ladder
  • combination wire stripper
  • light bulbs
  • work light
  • voltage tester
  • utility knife
  • wire nuts
  • electrical tape

INSTRUCTIONS

  1. Turn the electricity off. In the electrical circuit panel, turn off the power of the room where you will be working. Double check that the power is off by flipping the light switch on and off. You can hold a Voltage Tester near the light to see if there is any live electrical current present. If electrical current is present, turn off power to the whole house and proceed with a work light.
  2. Remove the old light fixture. Using a sturdy stepladder and a screwdriver, remove the existing light fixture shade and set it aside. Then remove the light fixture base.
  3. Remove the old wire connectors. Untwist the wires from the light fixture and the house to remove them completely.
  4. Connect the new wires. Connect the house’s black wires to the new fixture’s black wires, and the house’s white wires to the fixture’s white wires. Then connect the house’s ground wire to the fixture’s ground wire. To connect the wires, twist the two wire ends together, twist on a wire nut, and then wrap with electrical tape that is the same color as the wire. Gently fold the connected wires into the outlet box.
  5. Install the light fixture base. Using the hardware provided, install the new light fixture’s base according to the manufacturer’s instructions.
  6. Install the light bulbs. Check the fixture’s packaging to determine the correct light bulbs with the correct wattage that you need to install.
  7. Turn the power on. Turn the power back on in the electrical circuit panel. Turn on the light switch. If the light does not turn on, turn off the light switch and the electrical circuit panel switch and check the wire connections.
  8. Attach the light shade. Finally, attach the trim and shade according to the manufacturer’s instructions and enjoy your new light fixture!

TIP: Have a helper on hand to hold the light fixture as you do the removing and installing.

Share This Home Project!

2020-04-09T10:52:30-05:00August 20th, 2015|How To's|

How To Tile a Floor

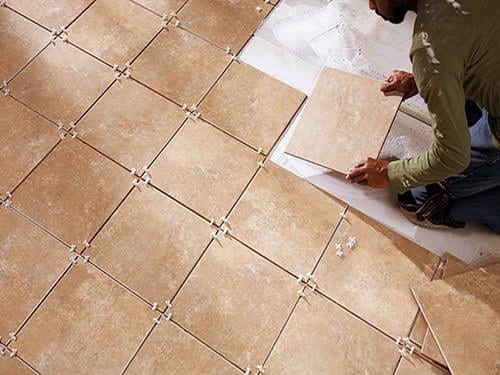
Laying a tile floor in your kitchen, bathroom, or any other room in the house doesn’t have to be daunting. Follow these simple instructions to learn how to lay a beautiful tile floor in a weekend!

How to Tile a Bathroom FloorMATERIALS

  • floor tile (ceramic, porcelain or travertine)
  • tape measure
  • straight edge ruler
  • chalk line
  • tile spacers
  • thinset mortar
  • mixing bucket
  • notched trowel
  • tile saw
  • tile grout
  • rubber trowel
  • sponge

INSTRUCTIONS

  1. Clean the floor. Remove all dust and debris from the floor to make sure the tile will lay evenly. If the tile will lay against any existing carpet or other flooring, tape it off so it doesn’t get mortar or grout on it while you are working.
  2. Find the room’s center. Measure the room to find its center, then snap two chalk lines that intersect at the center of the room. This will be your starting point for laying the tile.
  3. Lay the tiles. Start with a dry run. Place the tiles on the floor starting at the center and use your spacers to lay them evenly. Decide what size spacers you want to use depending on the look you want to achieve. Use a straight edge to ensure the tiles are aligned correctly.
  4. Mix the thinset mortar. Pour the dry thinset into a large bucket. Add a small amount of water and mix until the texture is the consistency of mayonnaise. Let the mortar stand for about 10 minutes before using. Only mix as much as you can use in about 2 hours so it doesn’t dry out. Follow directions on the package for more detailed instructions.
  5. Apply the mortar. Work on your floor in 2×2′ sections at a time. Remove the tiles from your dry run in the section you are working on, then use a notched trowel to spread the mortar on the floor. Work with the trowel at a 45 degree angle, and press down firmly so the notches scrape the floor. This will create an even layer of mortar for your tiles to lay on.
  6. Set the tiles. Carefully lay the tiles in place over the mortar. Press down firmly and with a slight twist of the wrist to make sure it sets. Use an even amount of pressure on all the tiles to keep the surface of the tiles even with one another. After laying a few tiles, you can lay a flat board over the tiles and lightly pound the top with a rubber mallet to help the tiles even out.
  7. Place the spacers. As you lay rows of tile, place spacers between each one to ensure a uniform distance between each.
  8. Trim odd tiles. More than likely, your tiles will not fit exactly against all of your walls. Measure and mark the tiles that need to be trimmed, and then use a tile saw to make the cuts. It’s helpful to cut the tiles after the whole tiles have been laid to make sure you get accurate measurements.
  9. Let it dry. When all of your tiles and spacers have been laid, let them dry overnight.
  10. Apply the grout. After the tile is set and you have let the floor dry overnight, remove the spacers and apply the grout. Use a rubber trowel to spread the grout across the tiles. Work at an angle to make sure the grout fills the space between each tile completely.
  11. Remove excess grout. When the grout is firm to the touch (about 5 minutes), wipe away the excess with a damp sponge. Repeat this process until the floor is clean, rinsing out your sponge often and being careful not to remove any grout from the tile joints.
  12. Seal the grout. If your new tile floor is in a bathroom, it is especially important to use a grout sealer so moisture doesn’t seep into your new floors and your grout doesn’t stain over time. Follow the directions on the package, but most grout sealers should be applied after the grout has set for a few days.

Share This Home Project!

2020-04-09T10:54:33-05:00August 20th, 2015|How To's|

How To Paint Chevron Wall Stripes

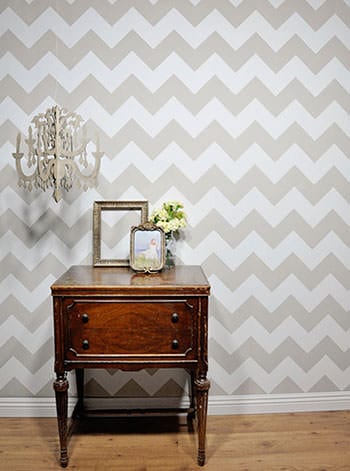
How to Paint Chevron Wall StripesThe chevron, or herringbone wall design is perfect for that small or blank wall you just don’t know what to do with. It adds interest to a space and is an easy project you can complete in a weekend.

Level: Beginner
Estimated Time: 5 hours
Estimated Cost: $25-$75

MATERIALS

  • interior paint
  • foam roller
  • paint tray
  • painter’s tape
  • drop cloth
  • ladder
  • pencil
  • ruler
  • level

INSTRUCTIONS

  1. Decide how you want your chevron pattern to look, and figure out the length and width you want your stripes to be. Find the center of your wall and begin measuring from the ceiling. From your starting point A, measure the width of the stripe straight down using a ruler and mark that point B. If you want your stripes to be 10” tall, start from the ceiling and mark 10” down. Then use a level to make sure the marks are even.
  2. From starting point A, measure the length of your stripe at a downward angle to the left and mark that point C. Then measure the width of your stripe below C and mark that as D. Points B and D should be the same length apart as points A and C. Repeat this on the right side measuring again from point A. Use a level to make sure the marks are even. Repeat this process until the entire wall is measured off.
  3. Tape off your stripes using painters tape. Be sure the tape is pressed down firmly so your paint won’t run underneath.
  4. Using any color of interior paint you’d like, roll the paint in every other stripe working from the ceiling down. Apply one or two coats of paint depending on the look you want.
  5. When the paint is dry to the touch, peel back the tape and admire your work!

TIP: Try using different types of paint (think eggshell vs. gloss) for the alternating stripes. This will make the stripes pop even more!

Share This Home Project!

2020-04-09T10:56:12-05:00August 19th, 2015|How To's|

Title

Go to Top